The most common collision repair mistakes are skipped diagnostic scans, missed hidden damage, incorrect structural measurements, improper welding, uncalibrated ADAS, poor paint preparation, and incomplete final inspections. These errors can leave a vehicle unsafe, cause premature corrosion or tire wear, and reduce its resale value even when the repaired panels look acceptable.
Key Facts at a Glance
- A pre-repair scan records electronic faults before disassembly; a post-repair scan verifies that safety systems operate after reassembly.
- ADAS calibration may be required after a bumper, windshield, grille, mirror, suspension component, or ride-height change.
- A frame or unibody repair must use manufacturer measurements, not visual symmetry alone.
- Thick body filler cannot replace proper metal repair on a deep crease, stretched panel, or structurally significant area.
- OEM repair procedures determine welding, riveting, adhesive, corrosion protection, and replacement requirements.
- A pickup inspection should include warning lights, panel gaps, tire behavior, water leaks, paint quality, and supporting documentation.
What Counts as a Collision Repair Mistake?
A collision repair mistake is any repair decision or process failure that leaves the vehicle outside the manufacturer’s safety, dimensional, mechanical, corrosion-protection, or finish requirements. A cosmetic imperfection is inconvenient; a missed restraint fault or misaligned unibody can change how the vehicle performs in another crash.
Modern collision work combines body repair, structural engineering, electrical diagnosis, refinishing, and sensor calibration. High-strength steel, aluminum, crumple zones, airbags, seat-belt pretensioners, radar, cameras, and networked control modules make the old “straighten and repaint” approach incomplete.
The Inter-Industry Conference on Auto Collision Repair, commonly called I-CAR, trains technicians around manufacturer-specific repair procedures because material type and vehicle design determine the permissible repair method. A procedure suitable for mild steel may be unsafe for ultra-high-strength steel or aluminum.
Which Collision Repair Mistakes Are Most Dangerous?
The most dangerous mistakes are missed restraint-system faults, incorrect structural repairs, and failed ADAS calibration because each can reduce occupant protection or accident avoidance without producing an obvious cosmetic symptom. Paint defects and poor panel gaps matter, but they normally present a lower immediate safety risk.
1. Skipping Pre-Repair and Post-Repair Scans
Diagnostic scanning is necessary because collision damage can affect electronic control units without illuminating the check-engine lamp. A pre-repair scan documents existing faults, while a post-repair scan checks airbag, restraint, steering, braking, body, and driver-assistance modules after repairs.
A proper scan is more than reading and deleting codes. The repair record should identify the vehicle identification number, scan date, modules tested, active or stored faults, and corrective actions. Clearing a code without repairing its cause removes evidence rather than fixing the system.
A scan also cannot replace a physical inspection. A technician may need to inspect wiring insulation, connector locks, grounds, radar mounts, wheel-speed sensors, and airbag circuits manually.
Practitioner rule: Never accept “there are no warning lights” as proof that a collision repair is electronically complete.
2. Failing to Calibrate ADAS
ADAS calibration is a common failure after work near cameras, radar, suspension, wheels, glass, or bumper structures. Adaptive cruise control, automatic emergency braking, lane-centering, blind-spot monitoring, and parking sensors depend on sensor position, vehicle geometry, software status, and sometimes road conditions.
Calibration can be static, dynamic, or both. Static calibration uses targets, measured distances, level floors, and specified target heights. Dynamic calibration uses a road test under prescribed conditions, such as lane markings, speed, traffic, and weather. The vehicle manufacturer determines the required method.
A bumper may look correctly aligned while a radar bracket is bent several degrees. A windshield replacement can alter a forward camera’s position. Wheel alignment or changed ride height can also affect sensor aiming.
The repair file should identify each calibrated sensor, calibration method, target or scan-tool information, completion status, and any calibration failure. “The warning light went out” is not a calibration certificate.
3. Measuring a Frame or Unibody by Eye
A unibody vehicle does not need to look visibly crooked to have a dimensional problem. Incorrect suspension pickup points, front rails, strut towers, or crumple-zone sections can cause pulling, tire wear, steering instability, poor door fit, and altered crash performance.
Computerized measuring equipment improves repeatability, but the important requirement is comparison with the manufacturer’s datum points and tolerances. The shop should measure before pulling, during correction, and after structural work. A final printout is stronger evidence than a technician’s visual assurance.
Frame machines do not automatically create a correct repair. Incorrect anchoring, pulling in the wrong sequence, failing to replace a stretched section, or ignoring secondary damage can produce a vehicle that measures well at one point but remains damaged elsewhere.
Expert insight: Alignment readings can appear acceptable while the body remains unsafe if bent suspension components, displaced subframes, or incorrect ride height distort the measurement context.
4. Using the Wrong Welding, Riveting, or Adhesive Method
Collision materials require different joining methods. Ultra-high-strength steel may require replacement rather than heating or straightening; aluminum may require dedicated tools and contamination control; some panels require self-piercing rivets, flow-drill screws, structural adhesive, or weld-bonding.
Heat can change the strength of advanced steel. Steel and aluminum contact can create galvanic corrosion unless the repair includes the specified isolation materials and coatings. A generic MIG setting is not a substitute for the vehicle maker’s joint design, wire type, weld count, plug-weld size, and corrosion procedure.
Technicians should follow the manufacturer’s repair manual and use the specified replacement section. A repair that is visually strong can still fail because the joint absorbs crash energy differently from the original design.
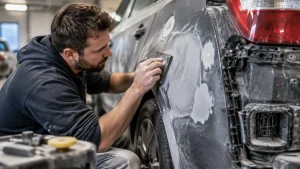
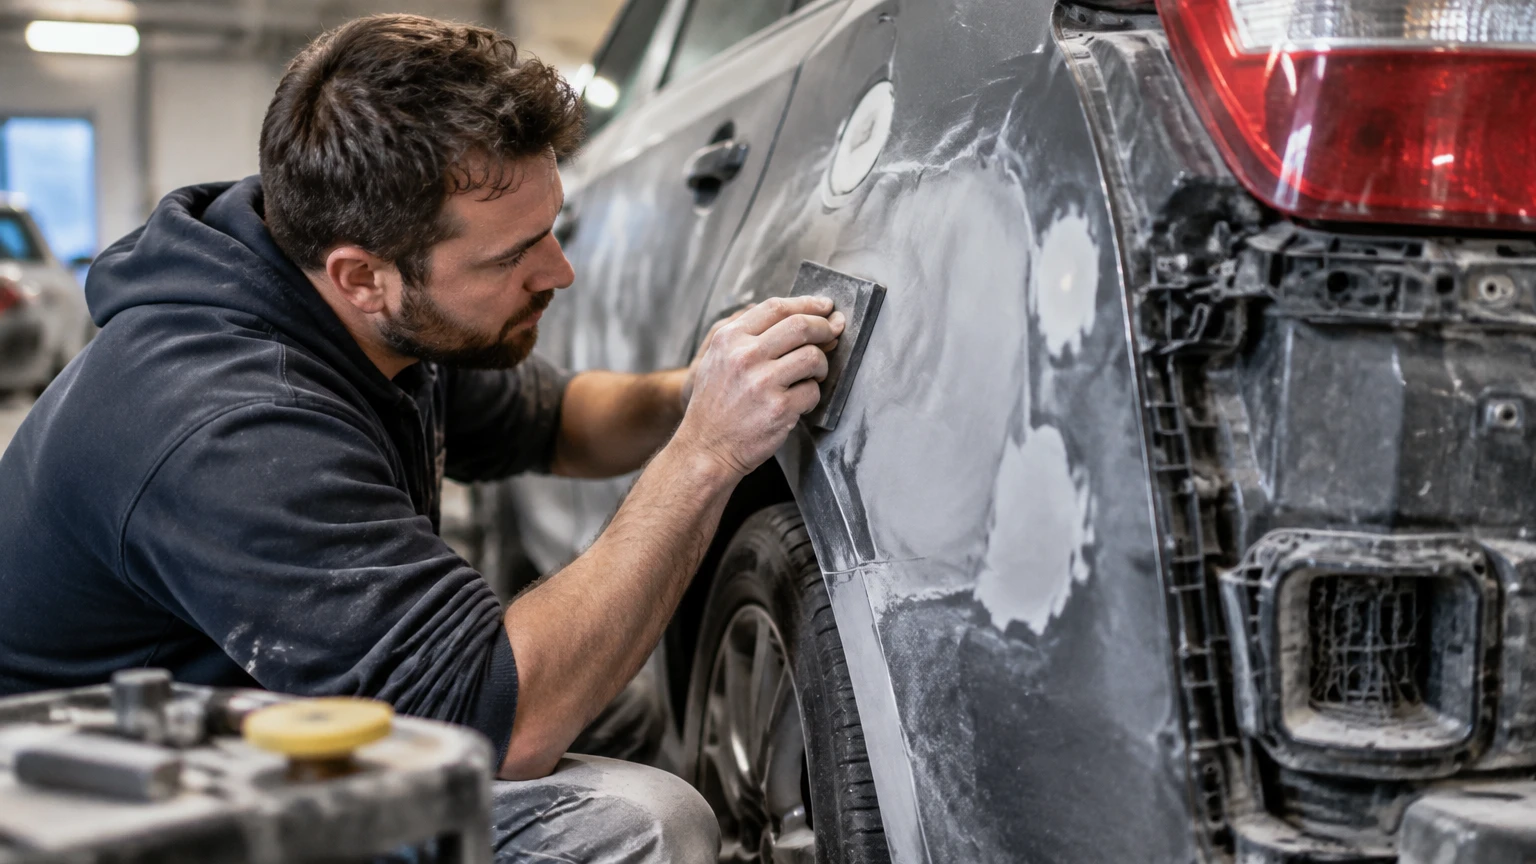
5. Covering Deep Damage With Excessive Filler
Body filler is intended to level properly prepared surfaces, not replace missing metal or correct major deformation. Thick filler can shrink, crack, absorb moisture through defects, and reveal a repair line under changing light.
The correct response to a deep crease depends on panel material, damage location, access, remaining metal strength, and manufacturer guidance. A technician may pull the metal, section the panel, replace the panel, or use a specified adhesive repair.
Look for swelling, sanding scratches, pinholes, edge mapping, cracking, or a visibly wavy reflection. A magnet can help identify filler on steel panels, but it cannot evaluate aluminum, plastic, hidden filler, or structural quality.
6. Rushing Paint Preparation and Color Blending
Paint failures usually begin before the spray booth. Inadequate cleaning, poor sanding, incorrect primer, contamination, excessive film thickness, insufficient flash time, and poor curing can cause peeling, solvent popping, sanding scratches, or clear-coat failure.
Color matching also requires more than entering a paint code. Factory paint varies with production batch, exposure, repair history, and application technique. A technician may need a spectrophotometer, spray-out card, variant selection, and blend into an adjacent panel.
A hard color edge on a metallic or pearl finish is especially visible in sunlight. Proper blending, clear-coat coverage, masking, and final polishing determine whether the repaired panel visually transitions into the original finish.
Limit: A polish can reduce dust nibs or mild orange peel. It cannot correct wrong color, insufficient clear coat, peeling adhesion, or excessive paint thickness.
How Does the Correct Repair Process Prevent These Errors?
A complete collision repair follows a documented sequence: inspect and scan, disassemble, measure, repair or replace structure and components, refinish, reassemble, calibrate, and perform final quality checks. Skipping an early step creates downstream uncertainty, especially when hidden damage appears after the estimate was written.
Step 1: Inspect and Scan
Record impact direction, visible damage, warning lights, fluid leaks, wheel position, restraint deployment, and pre-existing defects. Scan relevant modules before disconnecting or replacing components.
Step 2: Teardown and Supplement
Remove damaged trim, lamps, bumper covers, liners, and adjacent panels as needed. A supplement is appropriate when teardown reveals hidden reinforcement, wiring, cooling, sensor, or structural damage that the initial estimate could not see.
Step 3: Measure and Repair Structure
Measure factory reference points before and after correction. Replace sections when the manufacturer prohibits straightening, heating, or reuse.
Step 4: Repair Mechanical and Restraint Systems
Inspect steering, suspension, brakes, cooling, exhaust, engine mounts, battery systems, airbags, pretensioners, seat-belt retractors, and impact sensors. Airbags and pretensioners generally require replacement after deployment or damage according to manufacturer instructions.
Step 5: Prepare, Refinish, and Protect
Repair substrates, apply compatible primers and sealers, blend color where needed, cure coatings, and restore seam sealer, cavity wax, underbody coating, and corrosion protection.
Step 6: Reassemble and Calibrate
Install clips, lamps, grilles, weatherstripping, sensors, and trim correctly. Perform required ADAS calibration after verifying alignment, tire pressure, ride height, glass installation, and sensor mounting.
Step 7: Test and Document
Complete a post-repair scan, wheel alignment when applicable, road test, water-leak test, lamp check, panel-gap inspection, and paint inspection. Record the results.
How Much Does Collision Repair Cost and How Long Does It Take?
Typical collision repair costs range from about $500 for minor cosmetic damage to more than $25,000 for severe structural or electric-vehicle damage. Repair duration commonly ranges from one to three days for a small cosmetic job to six weeks or longer when structural work, parts delays, supplements, or calibration problems occur.
| Damage level | Typical cost | Typical time | Common work |
|---|---|---|---|
| Minor cosmetic | $500-$2,500 | 1-3 days | Bumper scuff, mirror, small dent |
| Moderate multi-panel | $2,500-$8,000 | 1-2 weeks | Door, quarter panel, paint blend |
| Structural collision | $8,000-$25,000+ | 3-6+ weeks | Unibody, suspension, restraints |
| EV or luxury structural repair | $12,000-$40,000+ | 3-10+ weeks | Battery inspection, sensors, scarce parts |
These are typical planning ranges, not guaranteed quotes. Labor rates, regional taxes, diagnostic fees, storage, parts availability, vehicle age, and insurance supplements change the result. A repair estimate also may increase after teardown.
What Parts Should a Repair Shop Use?
Part selection should match safety requirements, vehicle age, warranty status, availability, and the manufacturer’s repair instructions. A recycled OEM door may be sensible, while a structural or sensor component may require a new approved part.
| Part or method | Typical price position | Best use | Main limitation |
|---|---|---|---|
| New OEM part | Highest, often 100% reference price | Sensors, restraints, structural parts | Cost and backorders |
| Certified aftermarket | Often 60%-90% of OEM | Cosmetic panels on eligible vehicles | Fit and material variation |
| Recycled OEM | Often 40%-80% of OEM | Doors, lids, lamps, trim | Unknown history or wear |
| PDR | Often $100-$600 per dent | Paint-intact shallow dents | Cannot repair cracked paint or sharp creases |
Insurance estimates should identify the part category, supplier, warranty, finish responsibility, and any required calibration. The vehicle owner should ask whether a non-OEM part affects lease requirements, manufacturer warranty terms, fitment, sensor mounting, or future resale disclosure.
What Should You Check Before Accepting the Vehicle?
A pickup inspection should verify safety systems, driving behavior, body fit, water sealing, paint quality, and records. Inspect the vehicle in daylight and ask for a post-repair scan, alignment result when relevant, calibration record, and warranty terms before signing final acceptance.
| Check | Acceptable evidence | Warning sign |
|---|---|---|
| Dashboard | No unexplained warning lamps after startup | Airbag, ABS, steering, or ADAS lamp |
| Alignment | Four-wheel printout within manufacturer range | Pulling or uneven steering wheel |
| Panel fit | Consistent gaps and flush edges | Uneven gaps, rubbing doors |
| Water sealing | Dry trunk, cabin, lamps, and weatherstrips | Damp carpet or condensation |
| Paint | Consistent color and smooth clear coat | Overspray, hard blend line, peeling |
| Electronics | Scan report and working lamps/sensors | “Codes were cleared” without report |
Drive on a safe route with ordinary road conditions. Test braking, steering return, lane-assist behavior only where appropriate, window operation, mirrors, locks, climate controls, lamps, parking sensors, and the spare-tire or charging equipment if collision damage involved those areas.
What Are the Signs of a Botched Collision Repair?
The most reliable warning signs are repeated warning lights, steering pull, irregular tire wear, leaks, wind noise, inconsistent gaps, paint failure, and missing documentation. A single defect may have a simple cause, but multiple symptoms after one repair justify an independent inspection.
- The vehicle pulls or the steering wheel is off-center: request a four-wheel alignment printout and suspension inspection.
- Tires wear on one edge: check alignment, bent wheels, suspension arms, subframe position, and structural measurements.
- Water enters the cabin or trunk: inspect weatherstripping, seam sealer, lamp gaskets, glass bonding, and body openings.
- Wind noise appears at highway speed: inspect door adjustment, glass seating, mirror installation, and weatherstripping.
- Paint color changes between panels: request documented refinish evaluation under daylight and controlled lighting.
- ADAS activates unexpectedly: stop relying on the feature and request a diagnostic scan and calibration review.
- A bumper or grille sits unevenly: inspect retaining brackets, crash absorbers, sensor mounts, and adjacent structure.
Do not attempt to prove structural damage by repeatedly hitting panels, removing airbags, or disconnecting sensors. An independent collision center, dealership, or qualified structural technician can measure the vehicle and preserve useful evidence.
Are Electric Vehicles and Newer Cars More Difficult to Repair?
Electric vehicles add high-voltage isolation, battery-enclosure inspection, thermal management, and manufacturer-specific post-collision procedures. Newer vehicles also contain more sensors, cameras, radar units, aluminum or composite structures, and software-dependent systems.
A collision near a battery pack does not automatically mean the battery is damaged, but visible impact, enclosure deformation, coolant leaks, isolation faults, or underbody intrusion require qualified evaluation. Untrained technicians should not probe high-voltage components or reconnect a damaged system.
Common newer-vehicle mistakes include replacing a bumper without checking radar alignment, installing a windshield without camera calibration, repairing a camera bracket inaccurately, using incorrect aluminum fasteners, and failing to restore software configuration after module replacement.
Can You Repair Collision Damage Yourself?
DIY repair is usually limited to cosmetic bolt-on work that does not involve structure, restraints, high-voltage systems, steering, suspension, or sensors. A side mirror, grille, trim piece, or bolt-on fender may be reasonable for an experienced owner when no wiring or calibration system is affected.
Do not DIY weld a pillar, rail, roof, seat mount, or ultra-high-strength steel component. Do not reuse deployed airbags or pretensioners, straighten a structural member without factory measurements, or handle an EV battery after impact without the required training and equipment.
| DIY task | Typical difficulty | Professional involvement |
|---|---|---|
| Replace trim or grille | Low | None if sensors are absent |
| Replace bolt-on fender | Moderate | Alignment and paint may still need a shop |
| Replace mirror with camera | High | Scan or calibration may be required |
| Repair bumper near radar | High | Calibration and bracket measurement |
| Weld structural steel | Very high | Qualified structural facility required |
| Inspect damaged EV battery | Very high | High-voltage-trained technician required |
What Documentation Should a Collision Shop Provide?
A responsible repair file should include the original estimate, supplements, parts information, scan results, measurements when structural work occurred, alignment results, calibration records, warranty terms, and final invoice. Documentation helps the owner verify the work and supports future resale or insurance disputes.
Ask these questions before pickup:
- Was the vehicle scanned before and after repair?
- Which airbags, pretensioners, sensors, or control modules were replaced?
- Was the structure measured against manufacturer dimensions?
- Which parts were OEM, aftermarket, or recycled?
- Was ADAS calibration static, dynamic, or both?
- Was wheel alignment completed, and are the readings available?
- What warranty covers paint, parts, labor, and recurring defects?
- Were corrosion protection, seam sealer, and cavity wax restored?
A shop may not provide proprietary scan software files, but it should be able to identify the scan result and explain unresolved codes. Refusal to explain parts or calibration work is a legitimate reason to seek an independent review.
What Should You Do If the Repair Is Wrong?
Document the defect before authorizing additional work, then notify the shop in writing with photographs, dates, symptoms, and the requested correction. If the shop disputes the issue, obtain an independent inspection and preserve the original estimate, supplements, invoices, scan records, alignment sheets, and insurer communications.
Avoid immediately authorizing a second shop to dismantle the vehicle unless safety requires it, because dismantling can complicate responsibility. If the vehicle is unsafe to drive, stop driving it and request towing or an insurer-directed inspection.
Insurance procedures vary by jurisdiction and policy. In many regions, an insurer can recommend a facility but cannot lawfully require a particular shop; confirm the rule with your state or provincial insurance regulator rather than relying on a general internet claim.
FAQ
Can a bumper replacement cause safety-system problems?
Yes. A bumper replacement can disturb radar brackets, ultrasonic sensors, wiring, absorbers, or camera sightlines. Calibration may be required even when the replacement bumper fits correctly and no dashboard warning appears. The repair record should identify the sensor inspection and any manufacturer-required calibration.
Is a repaired car as safe as a new car?
A properly repaired vehicle can meet the manufacturer’s repair requirements, but safety depends on correct measurements, approved parts, joining methods, restraint replacement, calibration, and corrosion protection. A visual inspection alone cannot establish equivalence. Structural documentation and post-repair testing provide stronger evidence.
How long should paint last after collision repair?
A properly prepared and cured refinish should not peel, bubble, or crack prematurely under normal use, although exposure and maintenance affect appearance. Early peeling, solvent blistering, edge lifting, or severe color mismatch usually indicates preparation, material, application, or curing failure rather than ordinary aging.
Should I accept aftermarket parts from an insurer?
Accept aftermarket parts only after confirming fitment, warranty, finish responsibility, safety relevance, and calibration compatibility. Cosmetic panels may be acceptable on an older vehicle, while sensors, restraints, structural components, and specialized brackets require more caution and may need OEM or manufacturer-approved equivalents.
Can a collision repair mistake reduce resale value?
Yes. Poor fit, mismatched paint, unresolved warning lights, incomplete records, non-approved structural repairs, and an accident history can reduce buyer confidence and appraisal value. Keeping invoices, parts disclosures, calibration records, and final inspection documents helps establish that the repair was professionally completed.
The Bottom Line
The most common collision repair mistakes are skipped scans, missed hidden damage, inaccurate structural work, improper material joining, excessive filler, rushed refinishing, and absent ADAS calibration. Ask for manufacturer-based repair procedures, scan and calibration records, structural or alignment measurements, and a complete final inspection before accepting the vehicle. When the evidence is incomplete, an independent collision inspection is safer than trusting appearance alone.