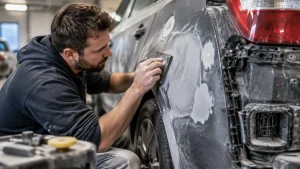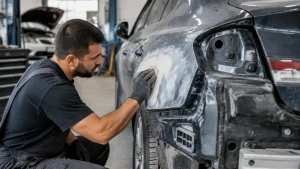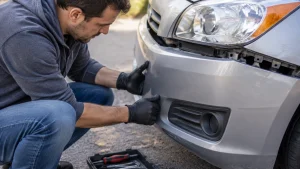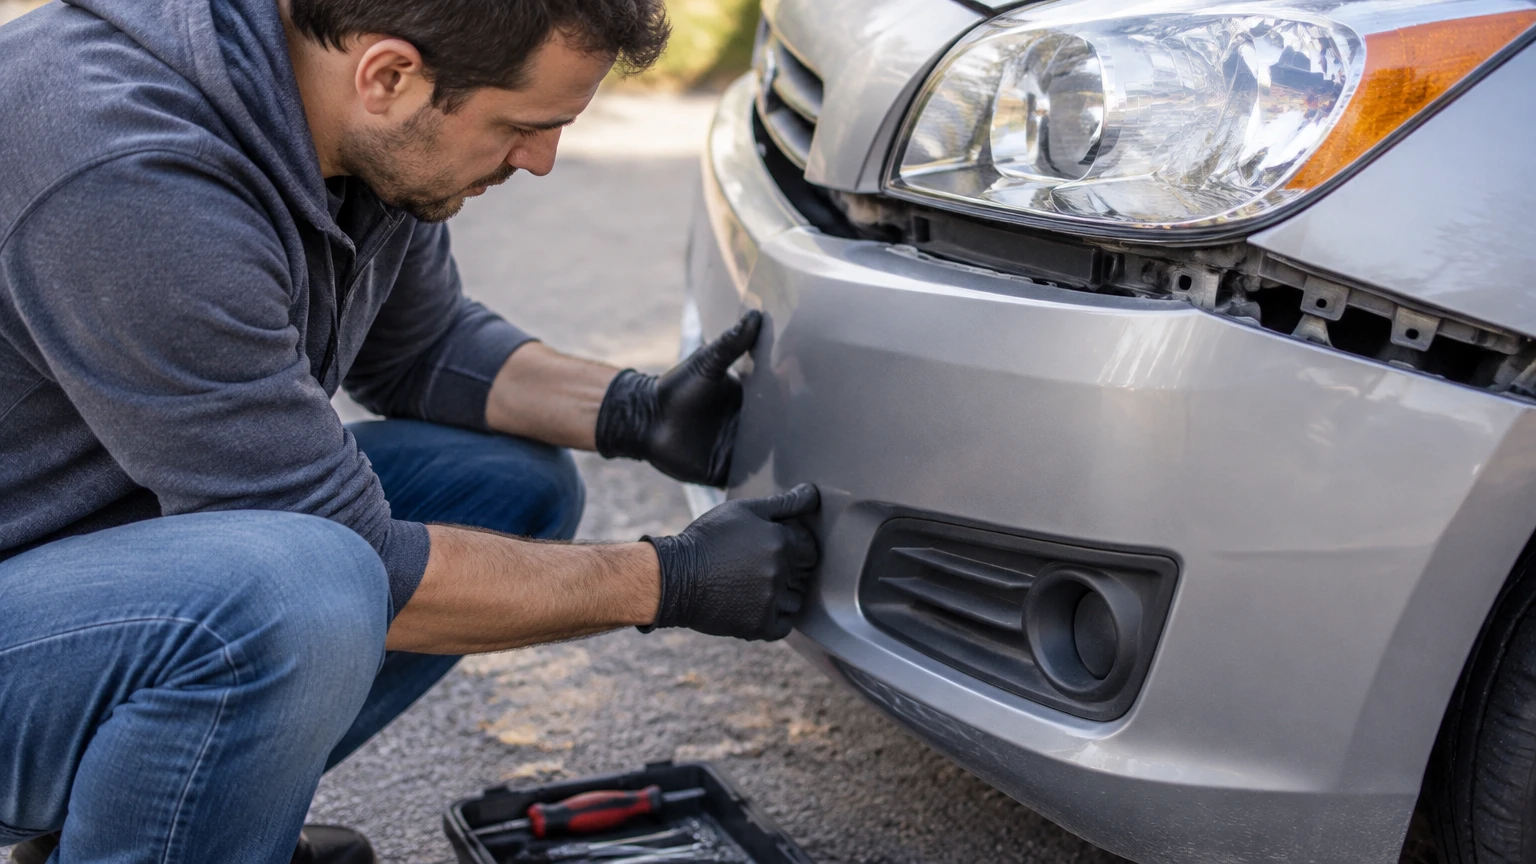
A loose car bumper is usually repaired by replacing missing clips or brackets, repairing torn plastic tabs, and realigning the bumper cover with the fender, grille, and undertray. A minor clip repair typically takes 15-45 minutes and costs $5-$30, but collision damage, exposed wiring, cracked mounting points, or ADAS sensors require professional inspection.
Key facts
A bumper cover is usually flexible plastic, not the vehicle’s primary impact reinforcement.
Missing push clips are normally the cheapest repair, costing about $5-$20 for parts.
A torn molded tab cannot be fixed reliably by tightening the original screw.
Super glue and household epoxy generally fail because bumper plastic flexes and changes temperature.
A bumper that repeatedly separates may have a damaged side bracket or bent reinforcement.
Radar, parking sensors, and wiring behind the cover can make a DIY repair unsafe.
Can You Safely Repair a Loose Bumper Yourself?
You can repair a loose bumper yourself when the cover has minor separation, the reinforcement is straight, no fluid leaks exist, and no sensor or wiring damage is visible. Stop and arrange professional inspection after a significant collision, severe cracking, exposed radar hardware, uneven structural gaps, or a bumper that interferes with a wheel or lamp.
A modern bumper has several layers. The painted outer cover attaches to side guides, upper retainers, lower shields, and wheel-well fasteners. Behind it are an energy absorber and a metal or composite reinforcement bar. A loose cover does not automatically mean the impact structure is damaged, but the cover can hide damage from a collision.
Do not treat a hanging bumper as cosmetic if it can contact a tire, drag on the road, block a headlamp, or pull on a wiring harness. Drive only far enough to reach a repair facility when those conditions exist.
What usually makes a bumper come loose?
The common causes are broken plastic clips, a pulled-out side guide, torn bumper-cover tabs, missing undertray screws, and a bent fender-edge bracket. Low-speed parking impacts and curb scrapes often dislodge the corner without visibly cracking the painted surface.
Repeated separation after new clips usually indicates a deformed mounting channel or bracket. New hardware cannot restore the original geometry when the plastic slot has stretched or the metal mounting point has moved.
What Parts and Tools Do You Need?
A basic bumper-cover repair requires replacement clips matched to the vehicle, a trim tool, a socket set, plastic-safe cleaner, a flashlight, and nitrile gloves. Torn tabs additionally require a flexible bumper-repair adhesive or plastic-welding equipment, while sensor-equipped vehicles may need a scan tool or calibration facility.
Before-you-start checklist
| Item | Typical specification | Typical cost |
|---|---|---|
| Replacement push clips | 8-20 vehicle-specific pieces | $5-$20 |
| Socket set | 8, 10, and 12 mm commonly used | $15-$40 |
| Trim removal tool | Nylon wedge or clip pliers | $5-$15 |
| Plastic cleaner | Water-based detergent and isopropyl alcohol | $6-$15 |
| Flexible repair adhesive | Two-part urethane labeled for bumper plastic | $15-$40 |
| Support material | Jack stands, wheel chocks, masking tape | $20-$80 |
Check the parts catalog or service manual before buying clips. Universal assortments often contain the wrong stem diameter, head profile, or locking depth. A clip that fits loosely can allow the bumper to vibrate back out.
Park on level ground, engage the parking brake, and use wheel chocks. If access requires lifting the car, support it with jack stands rather than a jack alone.
How Do You Diagnose the Loose Area?
Diagnose the attachment point before removing hardware. Examine the bumper corner, wheel arch, grille edge, lower lip, and underside, then identify whether the failure is a missing fastener, damaged bracket, torn tab, or displaced structural part.
Use a flashlight and compare the loose side with the intact side. Look for fresh scuffing, white stress marks in black plastic, elongated holes, broken retaining teeth, missing screws, and a gap that changes from top to bottom.
Fastener and damage diagnosis
| Visible symptom | Likely failed part | Correct response |
|---|---|---|
| Small hole with no clip | Push pin or screw missing | Install matching replacement hardware |
| Corner sits outward at fender | Side guide or retaining bracket | Replace guide if cracked or worn |
| Screw pulls through plastic | Torn molded tab | Rebuild tab or replace cover |
| Entire lower edge hangs down | Undertray clips or bumper lip | Replace clips and inspect splash shield |
| Uneven gap after impact | Bent bracket or reinforcement | Stop cosmetic repair and inspect structure |
| Parking sensor hangs loose | Sensor retainer or harness | Secure correctly and check fault codes |
Remove only enough hardware to see the attachment point. Pulling the entire cover off unnecessarily can strain fog-light wiring, grille shutters, headlamp washers, and radar connectors.
Step 1: Remove Damaged Fasteners and Open the Joint
Remove broken push pins, loose screws, and damaged retainers with a trim tool and the correct socket. Support the bumper cover with a helper or a padded box while releasing the final fasteners, because unsupported plastic can fold and crack around adjacent tabs.
Start in the wheel well, where bumper-to-fender screws are commonly installed. Turn the steering wheel for access, or remove the wheel if the liner blocks the fasteners. Keep each screw in a labeled container because similar-looking screws can have different lengths.
Avoid levering against painted edges. Mask the fender seam with two layers of painter’s tape before separating a tight joint.
You will know the step worked when: the loose section moves freely without pulling on lamps, sensors, or wiring.
Common mistake: forcing a trapped cover outward before checking for a hidden screw underneath the wheel liner.
Step 2: Clean the Mounting Surfaces
Wash dirt from the bumper tabs, side guide, body seam, and fastener holes with automotive detergent and water. After the plastic dries, wipe adhesive-repair areas with isopropyl alcohol or a cleaner approved for the bumper material, then allow the surface to evaporate completely.
Do not use silicone dressing, wax, oily degreaser, or tire shine near a repair area. Those products can prevent urethane adhesive from bonding. Abrade glossy plastic lightly with approximately 80-120 grit abrasive only where an adhesive manufacturer permits it.
Cleaning is especially important after winter driving. Salt residue and road film can remain inside a tab channel even when the painted exterior looks clean.
You will know the step worked when: the surface is dry, dull where prepared, and free from visible grease.
Common mistake: applying adhesive to wet plastic or to the painted exterior instead of the hidden repair surface.
Step 3: Replace Clips and Side Brackets
Replace missing or broken clips with the correct vehicle-specific retainers, then slide the bumper cover into the side guide before tightening upper and lower fasteners. Install all fasteners loosely first, align the cover, and tighten them only after the panel gaps match.
Side brackets are usually separate plastic guides bolted to the fender. Replace a bracket when its rail is cracked, its retaining teeth are worn, or the bumper snaps in but immediately springs back out.
Do not substitute a larger screw to compensate for a stripped plastic hole. The larger fastener can split the guide and distort the fender edge.
You will know the step worked when: the cover remains seated without hand pressure and the corner aligns with the adjacent fender.
Common mistake: tightening the wheel-well screw first, which can pull the corner out of alignment.
Step 4: Repair a Torn Plastic Tab
Repair a torn bumper tab only when the surrounding cover remains flexible and the tab is not part of a sensor mount or major structural attachment. Use a two-part flexible urethane or a repair system specifically labeled for automotive bumper plastic, and follow its mix ratio and cure time.
Clean and roughen the hidden surfaces, create a temporary alignment fixture, and apply adhesive behind the tab rather than building a thick visible lump. Some systems require an adhesion promoter; others use a reinforcing mesh. Product instructions control because polypropylene, polyethylene, ABS, and TPO plastics do not accept every adhesive equally.
Allow the full stated cure time, commonly 30 minutes to 24 hours, before loading the tab. Cold temperatures lengthen curing and can produce a weak bond.
You will know the step worked when: the rebuilt tab holds its original position without flexing away from the cover.
Common mistake: using cyanoacrylate super glue. Its rigid bond generally cracks under bumper vibration and temperature cycling.
When should you plastic-weld instead?
Plastic welding is often stronger than adhesive for a compatible thermoplastic, but the repair requires material identification, controlled heat, and reinforcement on the hidden side. A body shop is preferable when the tab carries repeated load or the plastic type is uncertain.
Step 5: Align and Tighten the Bumper Cover
Seat the bumper cover in its side guides, press the upper edge into its retainers, and install the lower shield and wheel-well hardware by hand. Check the hood, grille, headlamp, and fender gaps before tightening fasteners gradually from the center outward.
Use the manufacturer’s torque specification where available. If no specification is accessible, tighten small screws into plastic until the head is seated and the panel cannot move, rather than crushing the plastic. Plastic retainers fail from over-compression as well as from impact.
Compare both sides from several feet away and by touch. A flush edge with a consistent gap is a better result than a tight corner that places constant stress on one tab.
You will know the step worked when: the bumper stays flush during firm hand pressure and the gaps remain even.
Common mistake: using an impact driver. Its instantaneous torque can crack a plastic boss before the operator feels resistance.
Step 6: Test the Repair Before Driving
Inspect the repaired bumper by pushing gently at each corner and checking that no edge moves independently of the body. Confirm that lamps, parking sensors, radar covers, grille shutters, and wheel liners are secure, then test all affected lights and driver-assistance functions.
Start with a short, low-speed road test on a smooth street. Stop and inspect for vibration, rubbing, or a returning gap. Do not begin with highway driving, because aerodynamic force can enlarge a small separation quickly.
A vehicle with collision warning, adaptive cruise control, blind-spot monitoring, or automated parking may require calibration after bumper removal or impact. The exact requirement varies by make, model, sensor position, and diagnostic fault code.
Which Bumper Repair Method Should You Choose?
Replacement clips are best for intact mounting holes, flexible adhesive suits small hidden tab damage, and professional repair is the safest choice for structural deformation or ADAS involvement. Quick-release hardware is mainly appropriate for motorsport or vehicles that undergo frequent bumper removal, not for an unmodified daily driver.
| Repair method | Best condition | Typical parts cost | Typical time |
|---|---|---|---|
| Replace factory clips | Holes and tabs intact | $5-$20 | 15-30 minutes |
| Replace side guide | Corner bracket cracked | $15-$60 | 30-90 minutes |
| Flexible tab repair | Small hidden tab tear | $15-$40 | 1-24 hours including cure |
| Plastic welding | Compatible torn thermoplastic | $50-$150 shop price | 1-3 hours |
| Quick-release kit | Track use and repeated removal | $20-$80 | 1-3 hours |
| Body-shop restoration | Structural, paint, or sensor damage | $200-$1,200+ | 1-5 days |
Prices are typical United States consumer or repair-shop ranges, not guaranteed quotes. Labor rates, paint matching, vehicle design, and sensor calibration can change the total substantially.
Are zip ties acceptable?
A zip tie can temporarily retain a bumper for a short trip when the cover is stable, the tie cannot contact the tire, and no sharp edge remains. Drill-free temporary ties are preferable through existing holes; drilling painted panels creates corrosion and permanent cosmetic damage.
A zip tie is not a structural repair. Replace it with correct hardware as soon as practical, especially before highway use or wet weather.
Should you install bumper quick releases?
Quick releases make sense for track cars, drift cars, or vehicles whose owners remove the bumper frequently. They require careful placement, adequate backing support, and clearance from lamps, sensors, and body edges.
Quick releases are a poor choice for a leased daily driver. They alter the exterior, may leave visible hardware, and can weaken the cover if installed too close to an existing crack.
How Much Does a Loose Bumper Repair Cost?
A simple clip replacement typically costs $5-$20 in parts, while a professional repair involving paint, structural alignment, or calibration commonly costs $200-$1,200 or more. The largest price drivers are whether the cover is repairable, whether paint is damaged, and whether radar or camera systems need calibration.
| Damage condition | DIY parts range | Shop range | Typical duration |
|---|---|---|---|
| Missing push clips | $5-$20 | $60-$150 | 30-90 minutes |
| Broken side bracket | $15-$60 | $100-$250 | 1-3 hours |
| Torn mounting tab | $15-$40 | $150-$400 | 1-2 days |
| Cracked and painted cover | $50-$250 | $300-$900 | 1-3 days |
| Bent reinforcement | Not recommended | $500-$1,500+ | 2-5 days |
| ADAS sensor or calibration issue | Not recommended | $250-$1,500+ | Same day to several days |
Insurance claims may involve a deductible, a collision report, and an effect on future premiums. Obtain an estimate before authorizing replacement when the cover is cosmetically intact.
Why Does the Bumper Keep Popping Out?
A bumper that repeatedly pops out usually has a worn side guide, stretched mounting hole, distorted cover, or unresolved collision misalignment. Replacing the visible clip alone will not hold the panel if the guide no longer captures the bumper edge.
Troubleshooting recurring separation
| Recurring symptom | Probable cause | Next diagnostic action |
|---|---|---|
| Pops out at one corner | Worn side guide | Compare guide teeth with opposite side |
| Gap grows while driving | Missing lower support | Inspect undertray and wheel-well fasteners |
| Both corners sit outward | Cover deformation | Check impact history and heat distortion |
| Hood gap is uneven | Bent upper support | Measure against the opposite side |
| Sensor warning appears | Sensor or harness disturbance | Scan fault codes and inspect mounts |
| New clips break quickly | Misalignment or excessive load | Stop tightening and inspect structure |
A bumper can look straight while its metal support is bent behind the cover. If panel gaps are uneven across a broad section, cosmetic adjustment is unlikely to solve the underlying problem.
What Mistakes Damage a Bumper Repair?
The most damaging mistakes are overtightening, using incompatible adhesive, skipping hidden fasteners, and forcing a cover around a sensor or bent bracket. Each mistake transfers load into thin plastic tabs, so the repair may fail even when the outside initially looks aligned.
- Overtightening: compresses or cracks plastic bosses.
- Wrong adhesive: creates a brittle bond that fails with vibration.
- Ignoring the side guide: leaves the corner unsupported.
- Skipping cleaning: allows grease and road film to defeat adhesive.
- Forcing alignment: bends retainers and can stress sensor wiring.
- Testing at highway speed first: turns a small gap into a hanging cover.
A practical body-repair rule is to restore the original load path rather than merely making the panel look flush. Clips should retain the cover, brackets should guide it, and the reinforcement should carry impact loads.
When Should a Body Shop Inspect the Vehicle?
A body shop should inspect a loose bumper after a moderate collision, when metal behind the cover is bent, when paint has split around a mounting point, or when ADAS equipment is mounted in the affected area. Professional inspection is also appropriate when the bumper cannot be aligned without force.
Take photographs before disassembly if insurance may be involved. Record warning lights and avoid erasing diagnostic codes before a technician scans the vehicle.
Professional repair can include plastic welding, replacement of the bumper cover or absorber, structural measurement, paint blending, radar alignment, and post-repair calibration. A clip-only repair cannot correct those conditions.
FAQ
Can I drive with a loose bumper?
You can drive a short distance only when the bumper remains clear of tires, lamps, and the road, with no exposed wiring or sharp edges. Avoid highway speeds and arrange repair promptly. A cover that moves in airflow, drags, or blocks lighting should be secured professionally before driving.
What adhesive is best for a plastic bumper?
Use a two-part flexible urethane or a bumper-repair product specifically labeled for the plastic type. Product compatibility matters more than brand name because TPO, polypropylene, ABS, and polyurethane accept different bonding systems. Follow the manufacturer’s surface-preparation, mix, and cure instructions.
Can a cracked bumper mounting tab be repaired?
A cracked mounting tab can often be rebuilt when the surrounding plastic is sound and the repair remains hidden. Flexible adhesive with reinforcement or controlled plastic welding can work. Replacement is preferable when the tab carries a sensor, has missing material, or has fractured into the main cover.
Do parking sensors need recalibration after bumper removal?
Parking sensors may not require calibration after simple cover removal, but radar and camera systems often require inspection or calibration after impact or sensor movement. The requirement depends on vehicle design and fault codes. Follow the manufacturer’s repair procedure or use a qualified collision center.
Is it cheaper to repair or replace a bumper cover?
Repair is usually cheaper when the cover is intact and only clips or hidden tabs are damaged. Replacement becomes more economical when cracks are extensive, mounting points are missing, paint repair approaches the cost of a new cover, or the cover has lost its shape.
How long does a bumper clip repair last?
A correctly matched clip repair can last for the vehicle’s remaining service life when the cover and bracket are undamaged. Longevity drops sharply when the mounting hole is stretched, the guide is cracked, or the bumper remains under constant stress from a bent support.
The Bottom Line
To fix a loose car bumper, inspect the attachment points first, replace damaged clips or side guides, repair hidden tabs with compatible flexible plastic material, and align the cover before tightening. A $5-$20 clip repair is appropriate for minor separation; structural damage, recurring misalignment, exposed wiring, or ADAS sensors justify professional assessment.