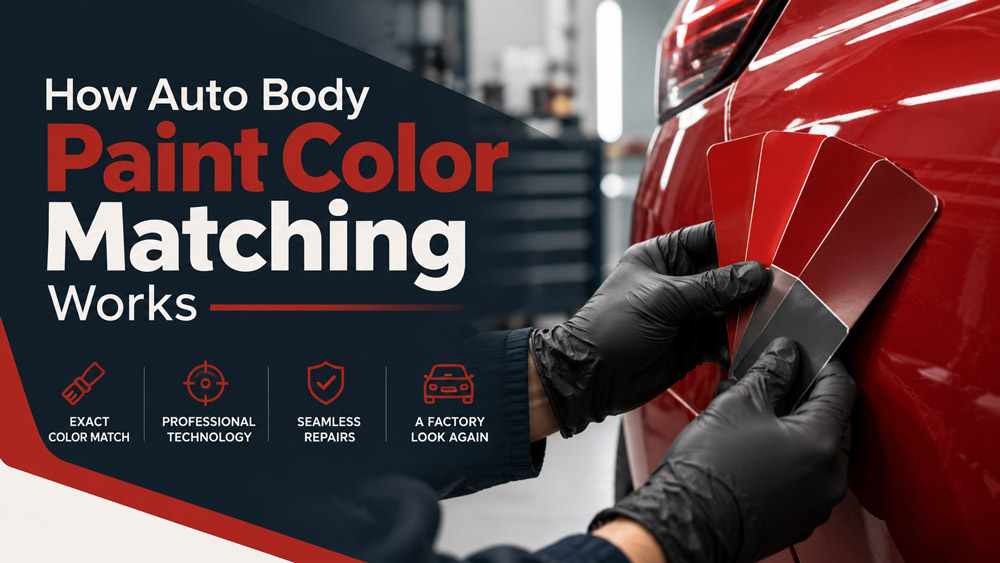
Why a factory color code is only the starting point, and how blending makes a repair disappear.
When a panel is repaired or replaced, the new finish has to blend with the paint that is already on the vehicle. On paper that sounds simple: look up the factory color code, mix the paint, spray the panel. In practice, color matching is more subtle, and the reason comes down to how paint behaves over time and how the eye reads a curved, reflective surface.
The factory color code is the necessary starting point, but it describes the color as the manufacturer specified it, not the color that is on the vehicle today. Sun exposure, age, and even the specific batch of paint used at the plant can shift a color over years. A vehicle that has spent its life outdoors may have a noticeably different shade from a vehicle of the same year and code that has been garaged.
That is why the matching process includes a test. A technician mixes paint to the code and then sprays a test panel, comparing it against the actual vehicle under the same lighting conditions the repair will be seen in. If the mix is slightly off, the tint is adjusted before the real panel is sprayed. Trusting the code alone would miss that step and risk a visible mismatch.
The type of finish adds another layer of complexity. Solid colors are generally the most forgiving to match. Metallic finishes, which contain reflective flakes, and pearl and tri-coat finishes, which build color in multiple layers, are more sensitive to the exact mix and to how the paint is applied. The more layers and effects in the finish, the more carefully the process has to be controlled.
Blending is the technique that hides the repair. Instead of painting only the repaired panel and leaving a hard edge where it meets the neighbor, the technician carries color a short distance into the adjacent panel and fades it out. The human eye is good at spotting a boundary, and blending removes the line that would otherwise give the repair away.
Even with careful matching and blending, no repair is invisible under every possible light and angle. The realistic goal is a finish that looks natural in normal daylight and interior lighting, with no obvious color break. A shop that promises a mathematically perfect match in all conditions is overselling the result, because lighting and clear coat both affect what the eye sees.
Preparation matters as much as the color. The repair area has to be cleaned, stripped where needed, and sanded so the new materials bond. Primer and sealer build a stable base. Base coat carries the color, and clear coat protects it and gives it depth and gloss. A mistake in any of those layers shows through, no matter how accurate the color mix is.
One question worth asking is how much of the vehicle will be refinished. Sometimes only the repaired panel needs color, and the blend extends a short way into the neighbor. Other times the adjacent panel has faded enough that more coverage produces a better result. The answer depends on the vehicle, the color, and the condition of the surrounding paint, so ask what the plan is and why. Understanding the plan makes it easier to judge the finished work in the right conditions.
For the vehicle owner, the useful parts are simple. Bring the vehicle clean, mention any previous paint or repair work, and share the paint code if you know it, though the shop can usually locate it on a door jamb, under the hood, or in the documentation. Then let the shop match against the actual paint. If you ever wonder why a repair takes an extra day for paint, this test-and-adjust process is usually why, and it is the step that makes the difference between a repair that blends and one that announces itself.